Maple Sugaring, Part 3: Boiling Down to Syrup
Now that the maples are tapped and we've been collecting sap for several days, it's time to turn that sap into syrup!
We decided to do this the old-fashioned way, over a fire:
First we had to dig out a hole in the snow on our patio to make a place to set our fire bowl. You could also do this on your grill in a pinch, but our fire bowl is bigger. It's not an ideal set-up, but we're too poor for a fancy evaporator, and we don't have any cinder blocks on hand to build a temporary fire pit. The drawback with using the fire bowl is that you have to remove the grate and pans of boiling syrup to re-stoke the fire every so often. That's not hard, but it does slow things down because the pans have to get back up to temperature after they've cooled a little. If we built a cinder block contraption to contain the fire but give us access to add wood on the side, that would be more efficient. Maybe next time!
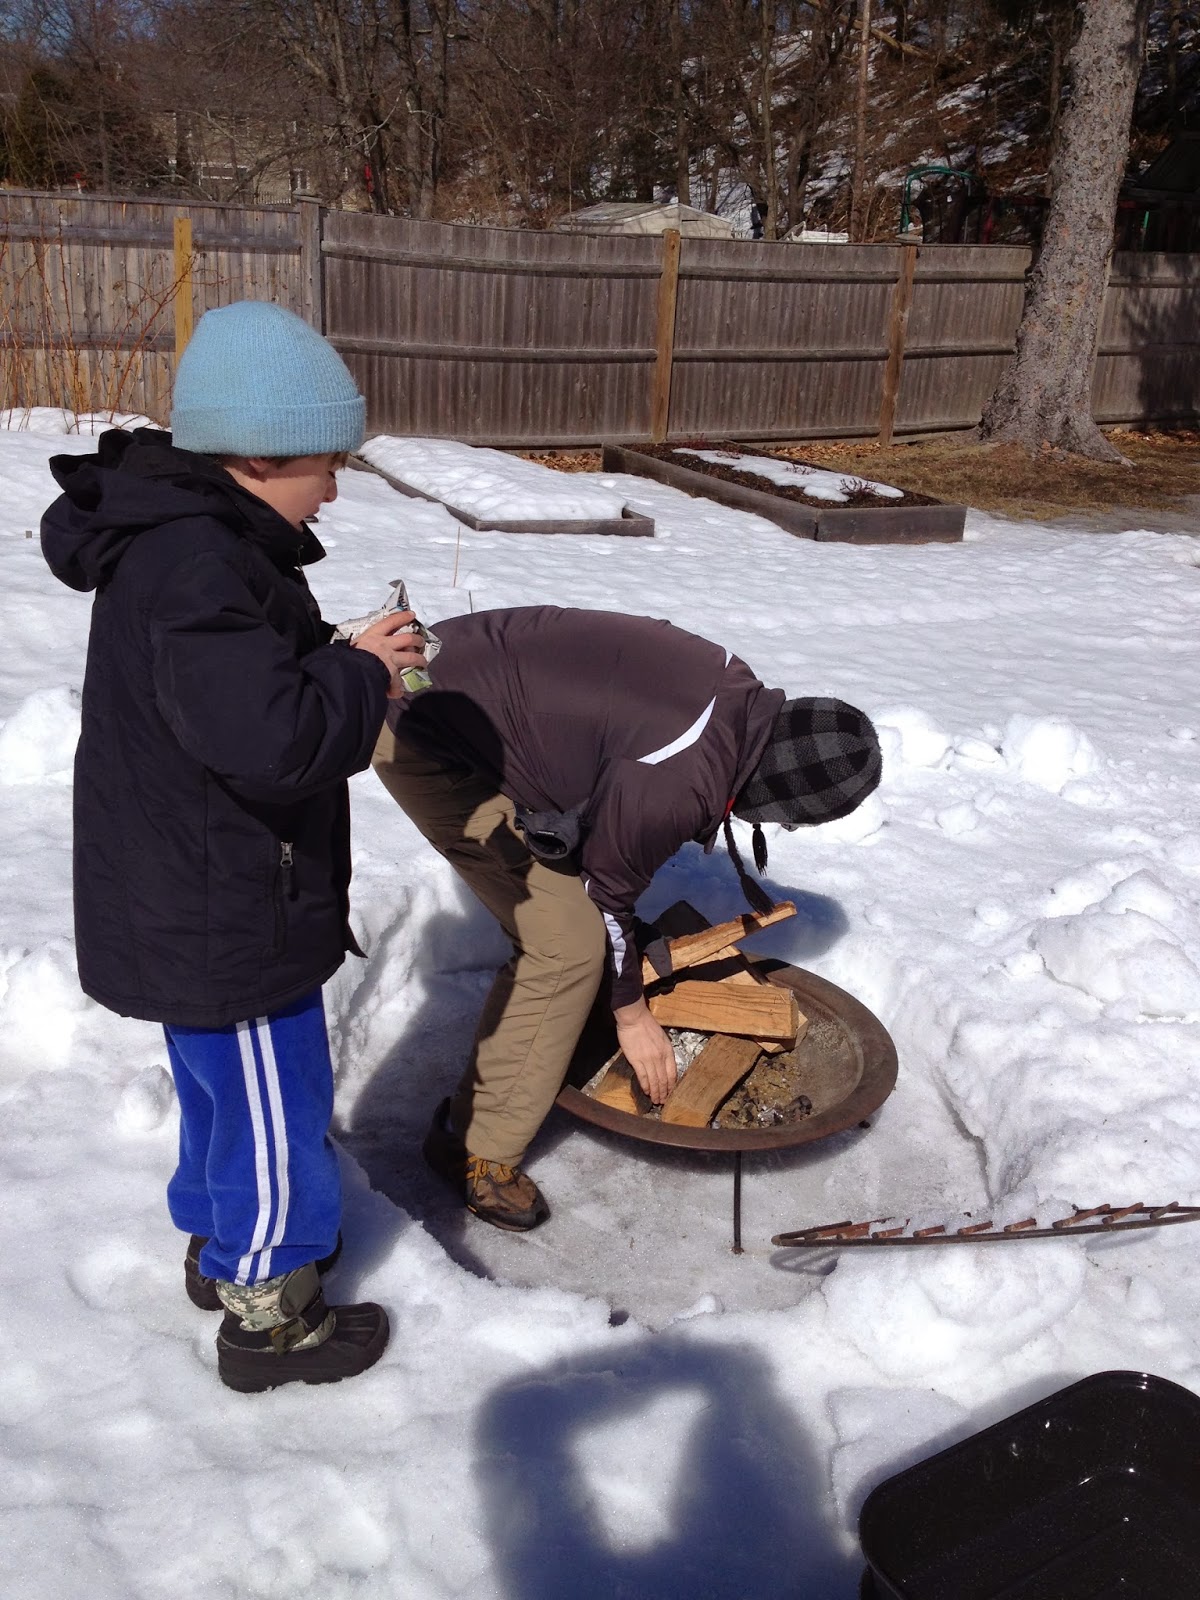
Anyway, here is our actual fire getting started:

We bought the firewood to do it, and the fuel for all the boiling is what makes maple syrup expensive, I think. It took about a package of firewood (like the kind you can pick up at the grocery store) to boil down 5 gallons of sap into 1 pint of syrup. That's about $6 a pint, which is about half of what you'd pay at the store. There's also a lot of fresh air and fireside meditation that comes along with it, so it's definitely worth making at home!
By the way, the tinder we used to start the fire are the dried out stalks of asparagus we left in place as a natural mulch over the asparagus beds this winter. Those wispy, dried bits of ferny leaves were perfect to get the fire going in short order:

Once the firewood was burning well (and hot enough that we could spread the logs flat in the bowl), we added the grate and two pans of sap:

This is a big enamelware roasting pan and its lid, which is almost as big as the pan itself. It's not big enough to put a whole bucket of sap in at a time (that would be five gallons), but it's great for boiling sap specifically because it's wide and shallow. The more surface area is in contact with the fire, they faster the boiling will go. Also, we only ever kept it 3/4 of the way full to avoid boiling over and losing any sap.

After it heats up, it starts to steam and boil. When it would get low, we'd add more sap, and when it stopped boiling, we'd add more wood to the fire to bring the heat back up. All told, it took about three hours to boil down five gallons of sap to the point at which it was an amber color and starting to thicken up.
Then we brought it into the house to finish up on the stove, where we could better control the temperature:

It's kind of magical, how all of the sudden the clear, watery sap turned golden and sweet. When we first put it into a pot on the stove, it was still pretty runny. Also, we should have used a much bigger pot to do this! Look what happened:

Next time, we know to put this into our biggest stock pot to finish the syrup, as it will boil over very easily and make a caramelized mess to clean up. We used a candy thermometer to measure the temperature — syrup will be ready when it's at 219 degrees.
Once we hit that mark, we were ready to filter it and get it into jars:

Here we used a bit of cheesecloth and a funnel to filter our any last little bits from the process (we also filtered it when we brought it inside and poured it into our pot, but I don't have a picture of that).
The official ratio of sap to syrup is 40:1, and that was true here. Slightly less than five gallons of sap (I slopped a bunch on my boots outside) came to slightly less than 1 pint of syrup (we slopped a bunch on the counter when it boiled over).
Look how pretty:

That right there is some Grade A Medium Amber maple syrup. It's made of a mix of sap from our trees: about 85% sugar maple and 15% Norway maple. The blend and terroir is uniquely ours. It might have been even lighter, but I think we overcooked it a tad on the stove when it boiled over. It has a great maple flavor, but also a little bit of a caramelized taste.
Still, not bad for a first effort, and everyone really loved the alchemy of the process. It also gave us a reason to be outside in the fresh, almost-spring air. At this time of year, when we're chomping at the bit to get out in the garden, this is the perfect thing to tide us over until we can get our hands into the dirt again.


Comments
Post a Comment