Posts

Showing posts from April, 2015

Trim The Fat Tuesday: The Update

Image
Though our Trim the Fat Tuesday challenge is officially history, we're still reaping the benefits of all those savings. Though we're longer actively seeking budget cuts, we've taken our total savings from the project and added it to our monthly mortgage payment. This has very quickly brought our equity in the house up to about 25%, which is well over the amount needed to ditch our PMI (that extra amount you have to pay for on a Fannie Mae loan if you have less than a 20% down payment). Our PMI was $400 per month (!!!!), so we were totally psyched to get rid of it. Too bad Wells Fargo (henceforth known as the Evil Empire) wasn't as eager. They can make us pay it for five years, even if we have built up our equity. Since that's a ridiculous waste of money, we hightailed it to our friendly local lender , a place not unlike the Bailey Building and Loan: This photo is from a great article about the Institution for Savings on boston.com We were able to re...

Busy Bees

Image
On Friday Anita from Beverly Bees came back to check our hive. The queen had just stepped out of her cage , so Anita carefully got all the bees around the cage to walk off of her hands and onto the comb they had built. It turns out that our Italian bees are very gentle, and they didn't seem at all bothered by us pulling the roof off of their house and poking around.  We also filled their feeder with some 1:1 simple syrup that I made that morning: The feeder is just an upside-down Mason jar with holes poked in the lid so the syrup drips very slowly. It's balanced on a couple of blocks just high enough to let the bees crawl under and sip the droplets. This food is to give them something to eat while they build their first combs and start foraging for pollen and nectar of their own.  Today Kirk and I went out to the hive on our own to check the feeder. We suited up and gave a couple puffs of smoke, then moved the bars to see this: That's another comb...

Soil Testing

Image
Last weekend when we planted our potatoes , we decided that we would expand our potato plot into the strawberry bed, which we made room for by emptying a very sad cranberry bed of its pathetic plants: To make sure that we wouldn't just be killing strawberries in that bed the way we killed those cranberries, we grabbed a soil test kit at our local feed store (yes, that's a thing ): In all our years of gardening, we've never once bothered with a soil test. I guess we've just gotten lucky with good soil, and all our compost use paid off. So this was fun.  You fill up to the first line of the plastic test tube with soil from a depth of 4 inches. Then you empty that little capsule of powder into the tube. Add water, shake it up, and let it settle: Then you compare the color of the water to the chart on the package. This is very alkaline, which explains why the cranberries never thrived. They need really acidic soil, so they were never able t...

Piles of Parsnips

Image
In addition to all the exciting creature additions this week, we also had a major harvest of parsnips: That five-gallon bucket is overflowing, and that's just half of the harvest.  Parsnips are at their best after a couple frosts to sweeten them up, and normally we keep them heavily mulched to dig out a bunch on warm winter day. That way we can have them throughout the winter without worrying about storing them inside.  We may have to rethink that plan after  this winter , though. For two months we couldn't get anywhere near them, as they were buried under six feet of snow. Perhaps this fall we'll try processing some to freeze in a puree or store them whole in a bucket of sand in the basement so that we have access to some blizzard food. For now, we're stuck with a whole winter's worth of parsnips (which, as Murphy's Law would have it, did better than ever before). We gave some away to our friendly neighborhood beekeepers and got star...

New Chicks!

Image
We've had quite the population explosion here this week. In addition to thousands of honeybees , we also have three new chicks: I picked these guys up at the post office first thing this morning. They were slow to figure things out, but it's been a few hours and everyone knows how to eat, drink and poop, so it looks like they'll be fine. This is Louisa Catherine, a Gold Laced Wyandotte. She's asleep in Tiegan's hands here, and typically falls sleep face-first onto the ground whenever the mood strikes. This is Lizzy, a Welsummer. She's definitely the runt of the group. She was hiding in the corner of the box when I opened it, and for the first couple hours looked like she was either drunk or had a broken leg. She was no good at walking. She seems better now, but she's definitely the least mature and capable of the newbies. This is Rachel, a Rhode Island Red. She's already the boss, and she appears to be the smartest and str...

What's the Buzz?

Image
Honeybees! Our bees came today, and we got them installed into their new top bar hive. This looks pretty different from the tall, traditional Langstroth boxes you are probably familiar with (and maybe afraid of). This is a much simpler design — just an upside trapezoid with bars that line up across the top and a few holes for a front door: The bees will eventually build honeycomb that hangs from each bar, and it will be the shape of the box: This comb is from an established hive, but we added it to ours to give the bees a good start with a place to store nectar and lay eggs. It also provides them an example of how to build a nice, straight comb that will be easier for us to lift out of the hive for honey later. This is a (way too big for me) bee suit that I am currently borrowing from Anita and Brian Deeley at Beverly Bees . We weren't able to sign up for a beekeeping class this winter, so we were super-psyched to find Beverly Bee's Adopt-a-Hive...

A New Potato Hilling System

Image
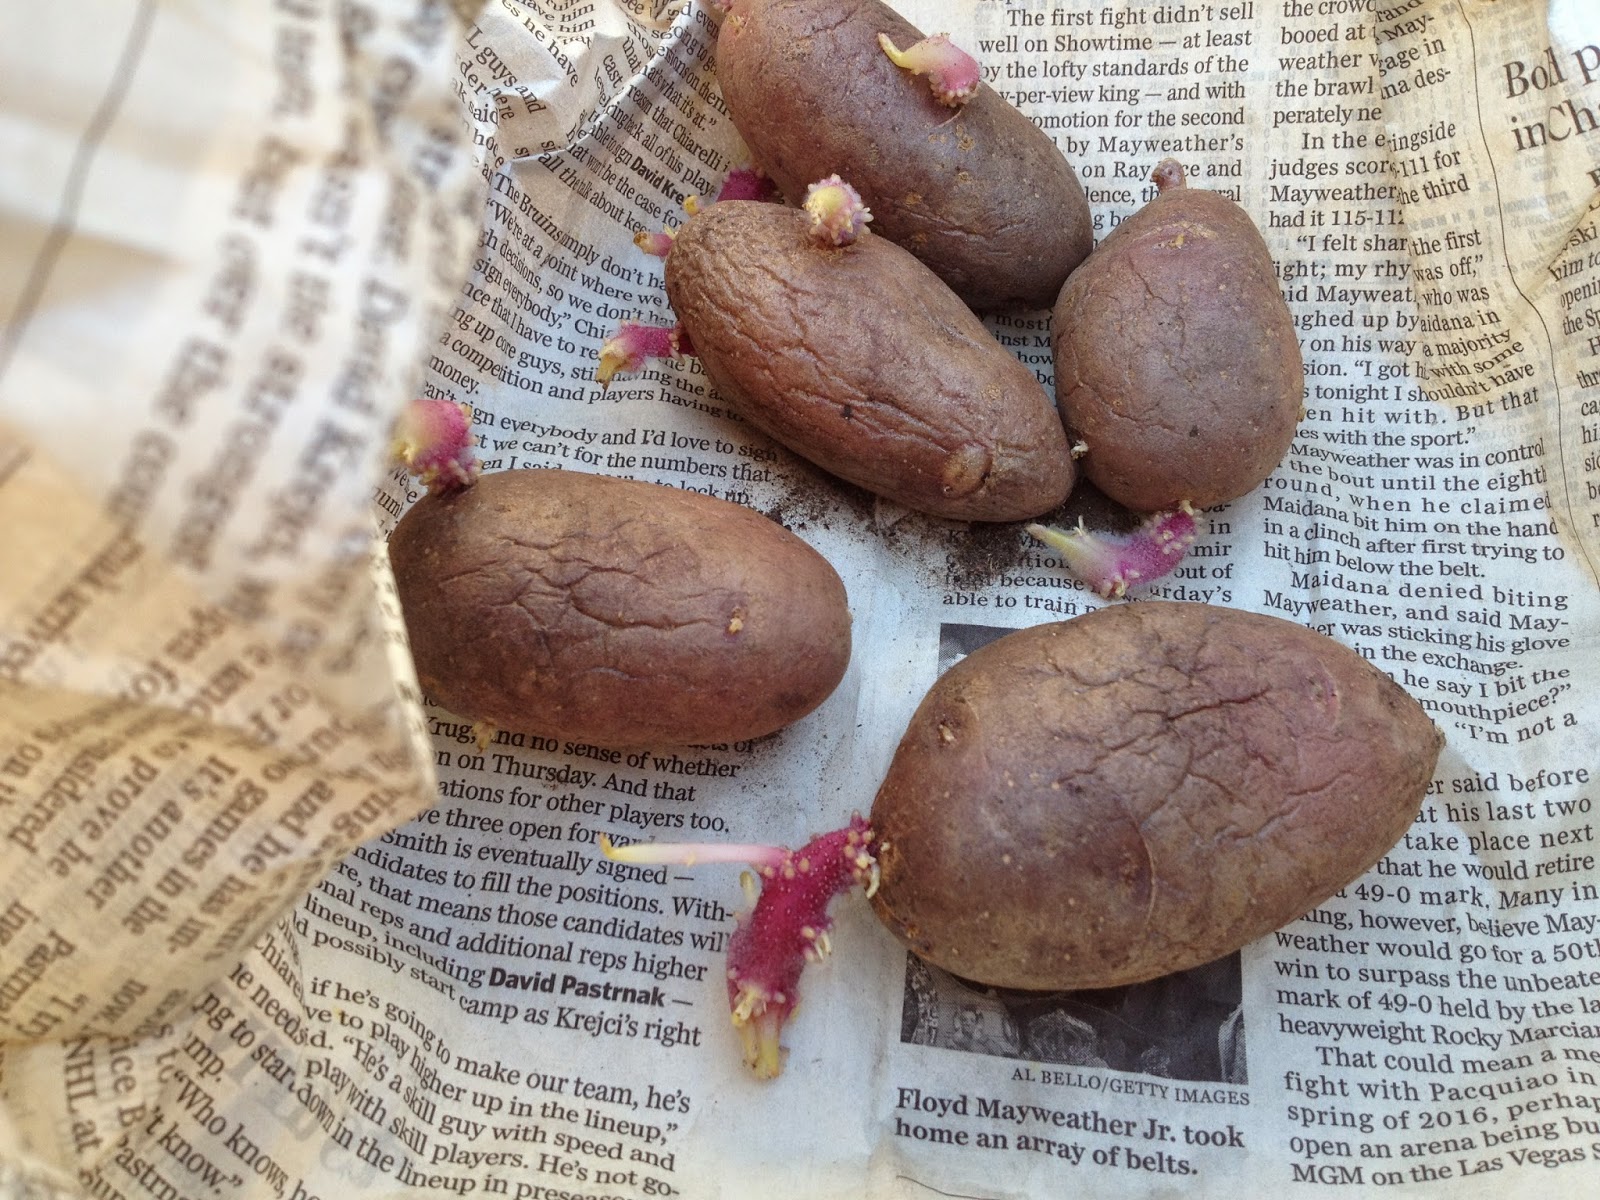
Our seed potatoes arrived from Johnny's on Friday — just in time to plant them this weekend. We are planting Kennebecs and Adirondak Reds that we bought, plus our own purple seed potatoes that we saved from last year's harvest: This year we decided to try something new for hilling up the potatoes. In the past we used 2-foot square potato boxes that we gradually built the sides up on as we hilled up the plants. This was never all that successful. The idea is that the plants should keep producing tubers up their stems and they are covered, but we never really got many potatoes above the original soil line. So this year, we'll being hilling the plants in a more traditional way by just heaping some extra compost around each one. To keep the extra dirt from spilling into the paths, we used parts from the old potato boxes to build a wooden wall: We also have way more seed potatoes than we could fit in that space, so we decide to add an extra potato bed whe...

The New and Improved Chick Brooder

Image
Did I mention that we are expecting three new chicks next week? I think I did . They'll be shipped on Monday, and we expect them bright and early Tuesday morning. Vacation week is a good time to get babies, since we'll be home when our friendly neighborhood postal worker brings them to the door. Kirk had off from work today, so he built a new brooder in preparation for the new babies. Our old one was a plastic bin with some hardware cloth for a floor, but the new one is the Taj Mahal of brooders: The great big crate was made from a couple of our old potato boxes . (We are going to hill our potatoes a different way this year and won't need all those boxes — more on that later.) There's still the guillotine stand to hold the heat lamp, though it's now permanently attached to the sides of the box.   Inside the box there's a permanent cross bar to support the feeders. There's also a layer of hardware cloth secured in place by battens along the ...

Herbal Apothecary: Cold Cream

Image
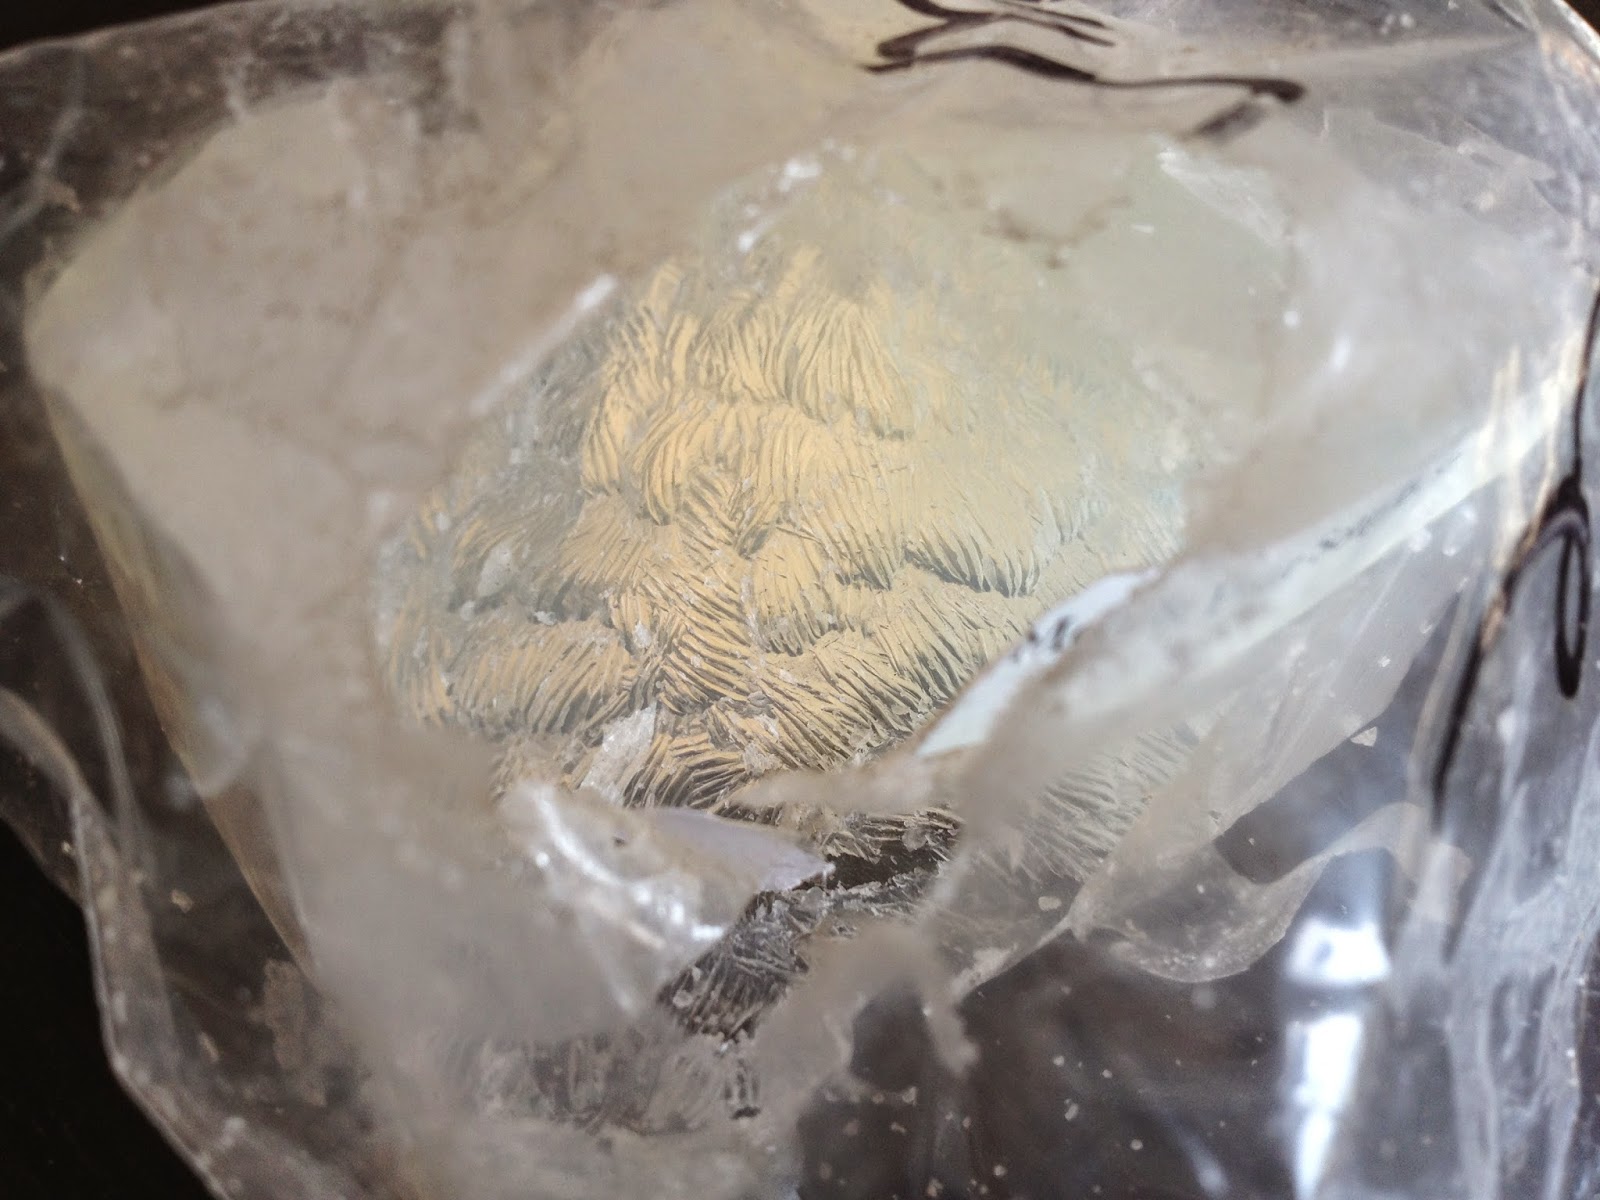
Yesterday I was planning to make a few more bars of soap , but was stopped in my tracks. Check out the state of my glycerin soap base: What you are looking at is a plastic bag with a big hole in it. Inside that bag is a half-eaten block of glycerin. I know we have some mice in the basement of our old, less-than-perfectly-sealed house. I did not know that mice like to snack on soap when there are perfectly good butternut squashes and seed potatoes nearby.  Weird. So after a moment of admiring the pattern of those industrious little teeth marks, I pitched this block and ordered more online. In the meantime, I decided to make some cold cream. Now that 50 percent of Port Potager residents wear makeup , we could use a makeup remover. This one is all natural and very gentle, with just four ingredients: water, grapeseed oil, coconut oil and beeswax. Here's how you do it: 1. Measure 1/4 cup of grapeseed oil and 1/4 cup of coconut oil. Start with the liquid grapes...

Maple Sticky Buns

Image
Today marks a major transition. It was our last day of maple sugaring, and tomorrow we will dismantle the fire pit  that we've used for the past month for evaporating sap and use the cinder block as the base for our rain barrels. Now that nighttime temperatures aren't dipping below freezing (much) any more, the sap isn't running. It's also safe to get the rain barrels set up, since any rain we collect won't have a chance to freeze solid and burst the barrels. This is perfect timing, as we were able to set out a lot of seeds and transplants now that the weather is has finally taken a turn for the better. In honor of the close of our second maple sugaring season, I'm sharing a great recipe that Kirk made last weekend for Easter breakfast. It's a riff off of his dad's Philadelphia cinnamon bun recipe, but made with our homemade maple syrup. Maple Walnut Sticky Buns 1/4 warm water 1 package yeast 1 tsp. sugar 3 to 3/12 cups flour 2...

The Winter Damage Report

Image
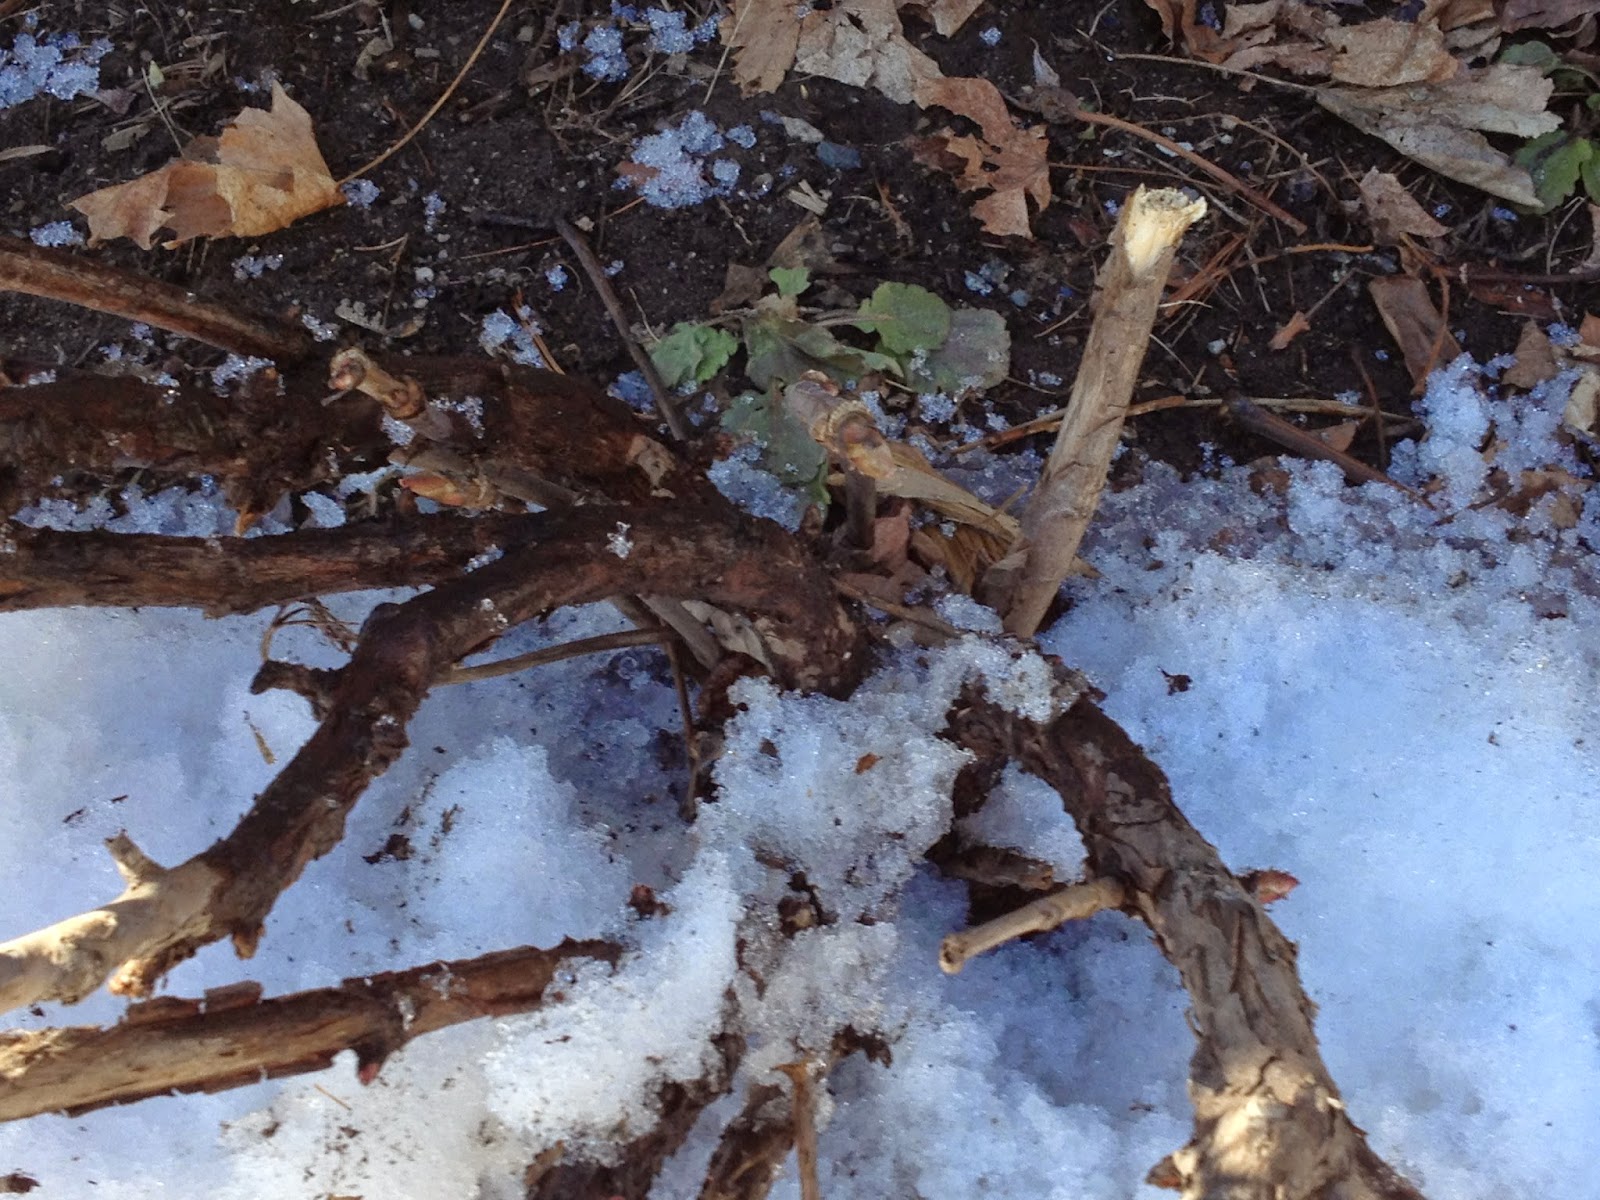
All those giant piles of snow from the historically blizzard-prone Winter of 2015 left behind a lot of damage. Though the snow was initially very light and fluffy, it compacted into a heavy block of ice as the season wore on, and all those piles pinned down the branches of shrubs and garden plants. Not all the branches were able to withstand the weight of the melting snow, as I discovered this week when I was finally able to take a proper tour of the garden without snow boots. Starting in the perennial border, our tree peony took a big hit. Many branches were broken, and I'm not sure that it will be worth saving. It will depend on what it looks like when it blooms this spring, but I feel like it might be so lopsided that it will need to be replaced. This section of the border took a big hit, as it took on snow blown from the driveway and  snow shoveled off the music room roof. Here you can get a better idea of how lopsided the tree peony is (it's the plant on ...